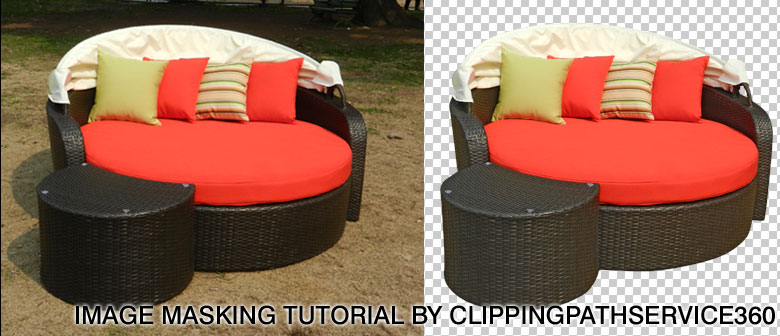
With the help of image masking tool in Photoshop, the designers can merge two or more images and bring out the relative creativity.
Layer Mask: In this, the mask is applied onto a layer for controlling transparency level of different sections in one image without affecting its actual background.
Clipping Mask: In this, one layer is used to decide transparency level of the other; where, upper layer borrows transparency from the bottom layer.
Image Masking is an essential factor in image editing and has the ability to give excellent appeal to a picture. Though, layer and clipping masking may sound same; but, their processes and applicability are different.

Process of Layer Masking :
- Take two images as separate documents on Photoshop › drag the smaller image over the bigger image by pressing "V" in the keyboard. Keep the smaller image on the background layer; while the bigger image on "Layer 1".
- Shift bigger image to little left, apply layer mask by selecting the "white square shaped button" called layer mask button in the layer panel › take cursor on that button and press ALT+ Click for a window with white fill › change the layer color to black for making the image underneath as completely invisible because by default each layer mask is white in color that signifies 100 percent visibility of the below lying image.
- Choose the layer mask in Layer Panel, select the black as foreground color › further, select the brush tool and paint around the main object roughly › adjust the brush size to erase unwanted stuff around the main image.
- This seems to show both objects in one section; though, the bigger should be reduced to fit the size and make it look a positive part of one picture.
Process of Layer Masking :
- Take two images as separate documents on Photoshop › drag the smaller image over the bigger image by pressing "V" in the keyboard. Keep the smaller image on the background layer; while the bigger image on "Layer 1".
- Shift bigger image to little left, apply layer mask by selecting the "white square shaped button" called layer mask button in the layer panel › take cursor on that button and press ALT+ Click for a window with white fill › change the layer color to black for making the image underneath as completely invisible because by default each layer mask is white in color that signifies 100 percent visibility of the below lying image.
- Choose the layer mask in Layer Panel, select the black as foreground color › further, select the brush tool and paint around the main object roughly › adjust the brush size to erase unwanted stuff around the main image.
- This seems to show both objects in one section; though, the bigger should be reduced to fit the size and make it look a real part of the picture.
Process of Clipping Mask :
- Open an exclusive background on one layer in Photoshop › right click on background layer present in the layer panel and choose 'layer from background'.
- Create a new layer by pressing CTRL, Shift and N for entering the concerned text that needs to be given exclusive background present in previous layer.
- Drag "exclusive background layer" over the layer of text › go to layer menu for choosing create clipping mask. To make it more easy, press CNTRL, ALT and G. Exclusive layers gets transferred on text.
- To clean the image, include a "fill layer" by going in the layer Menu – New Fill Layer- Solid Color › drag this fill layer under the text layer for a cleaner effect.
With the advertising world laying emphasis on expressive images, image masking is gaining importance because of its extensive benefits.
- Isolates the needed part of an image and not the whole background.
- Ability of changing backgrounds and giving new look to an older image.
- Has the capability to merge two or more images and create a masterpiece image.
